
DEMON X V7 · X-CONNECT
X-Connect: together or separately, your choice
Demon X-Connect lets you fasten a compatible top and pair of shorts together. You can also wear each piece separately, giving you the choice of how to put your kit together.
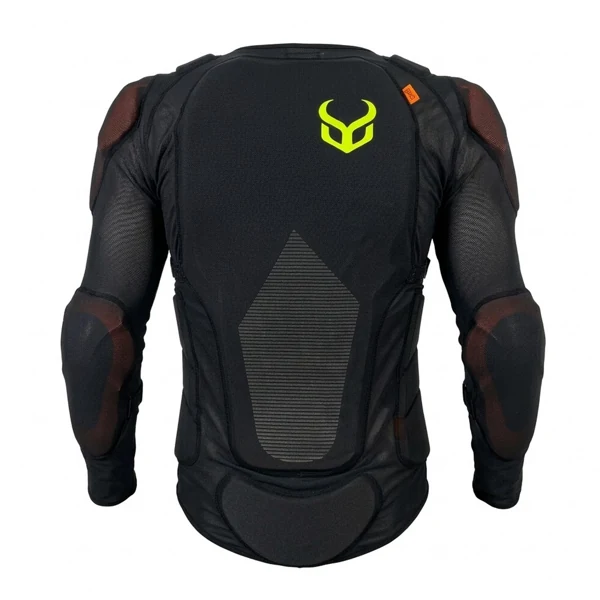
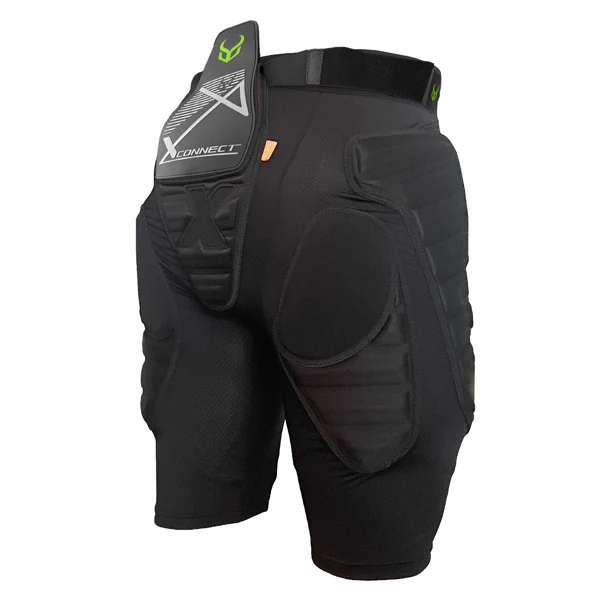
What does X-Connect do?
X-Connect is the hook-and-loop connection fitted to compatible Demon tops and bottoms. It sits at the back, where the lower edge of the top overlaps the upper part of the shorts. This allows the two garments to be joined at the lower back.
The hook-and-loop fastening is easy to undo when you want to wear the top and shorts separately.
The connection on both the top and the shorts
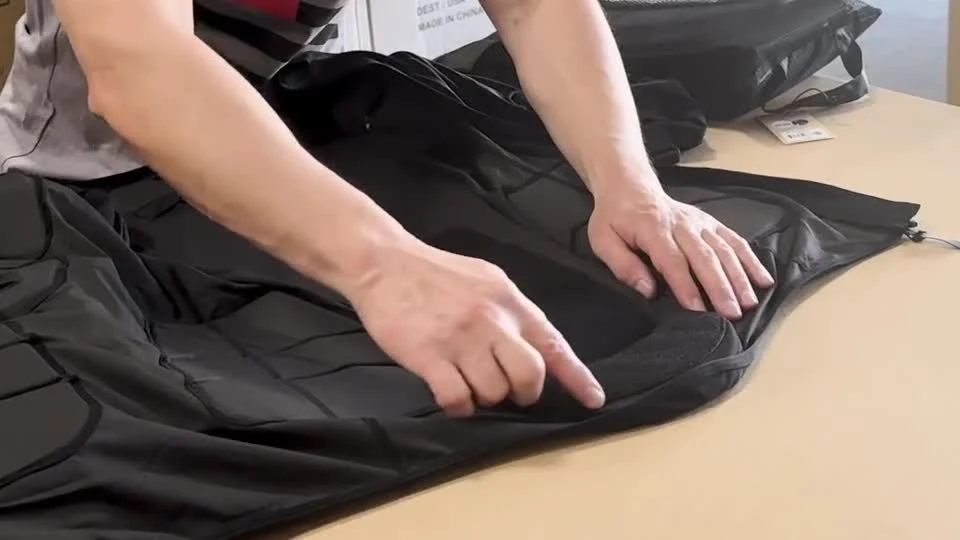
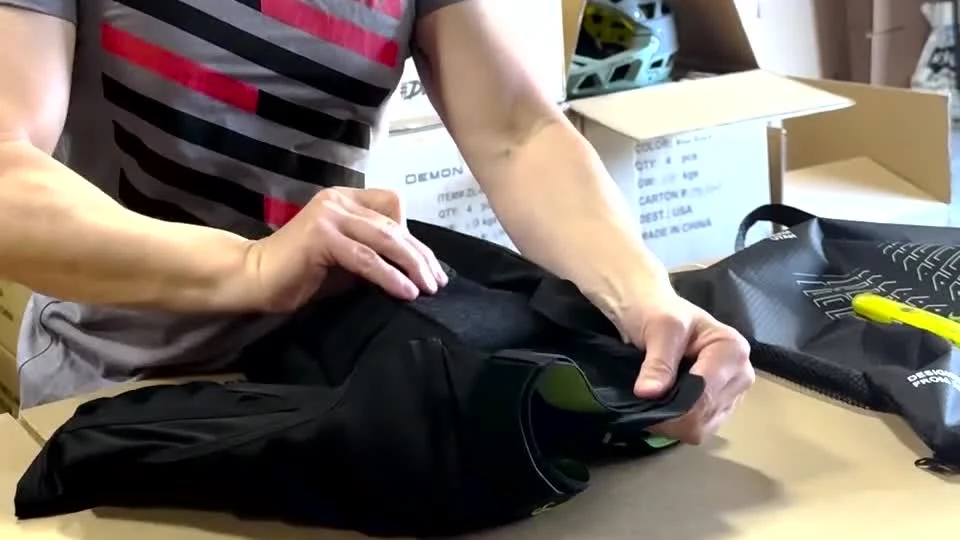
X-Connect uses two matching fastening surfaces: one inside the lower back of the top and one on the outside rear of the shorts. These are the two surfaces that join the garments.
1. Inside the V7 top
2. Outside the V7 shorts
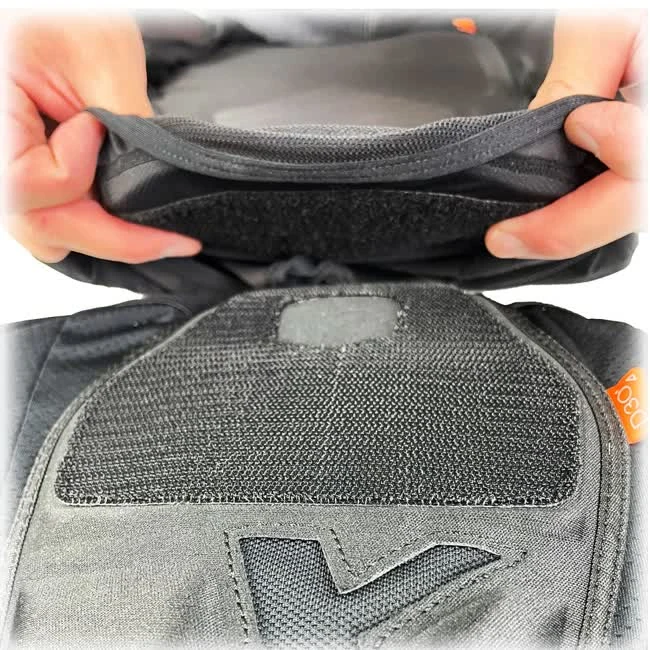
3. Press the two surfaces together
Bring the back of the shorts against the inside of the top. Allow the fastening surfaces to overlap sufficiently and press them firmly together at a height that lets both garments sit comfortably. Then bend and move to check the fit.
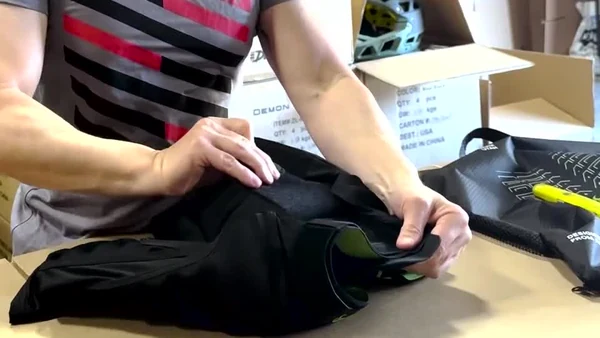
Frames from Demon’s V7 product videos. Watch the demonstration: V7 top from 2:37 · V7 shorts from 2:36 (videos below; YouTube loads only with your consent).
Bringing the top and bottoms together
The Demon film on our homepage shows the connection being fastened while dressing. These frames show an earlier version; the detail photographs above show the V7 attachment surfaces.
Expose the attachment surfaces
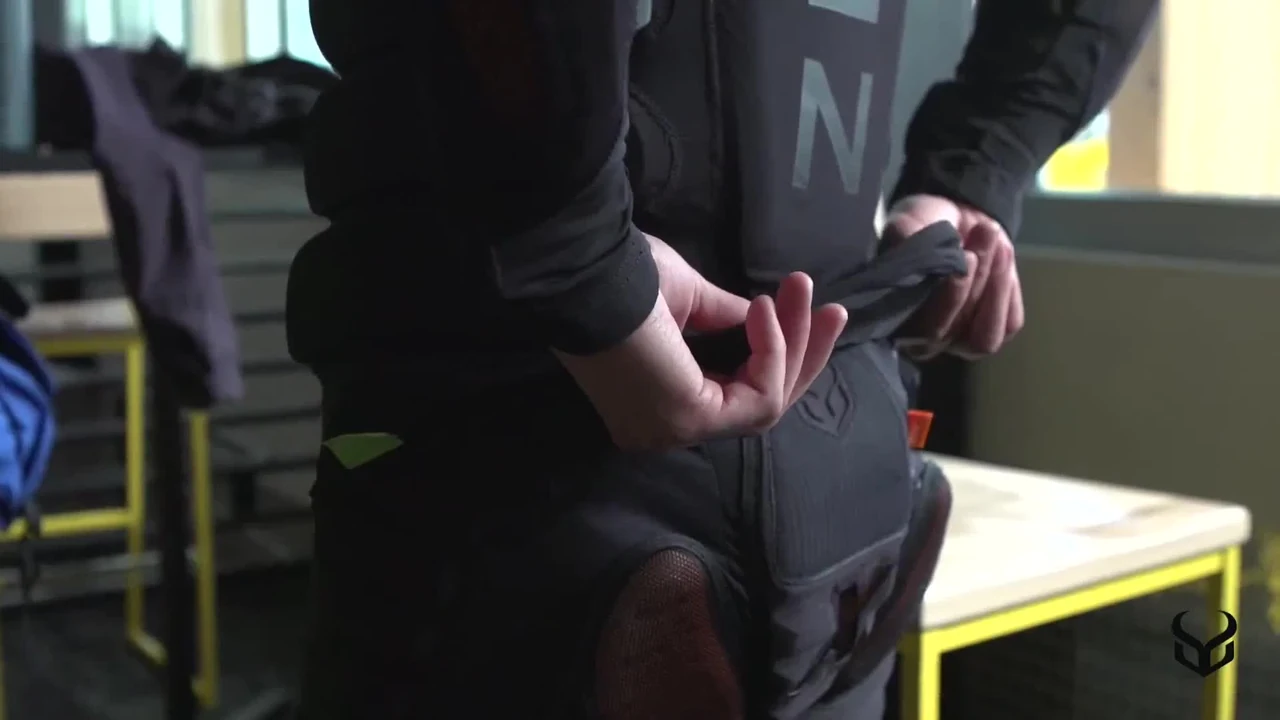
Press the connection firmly together
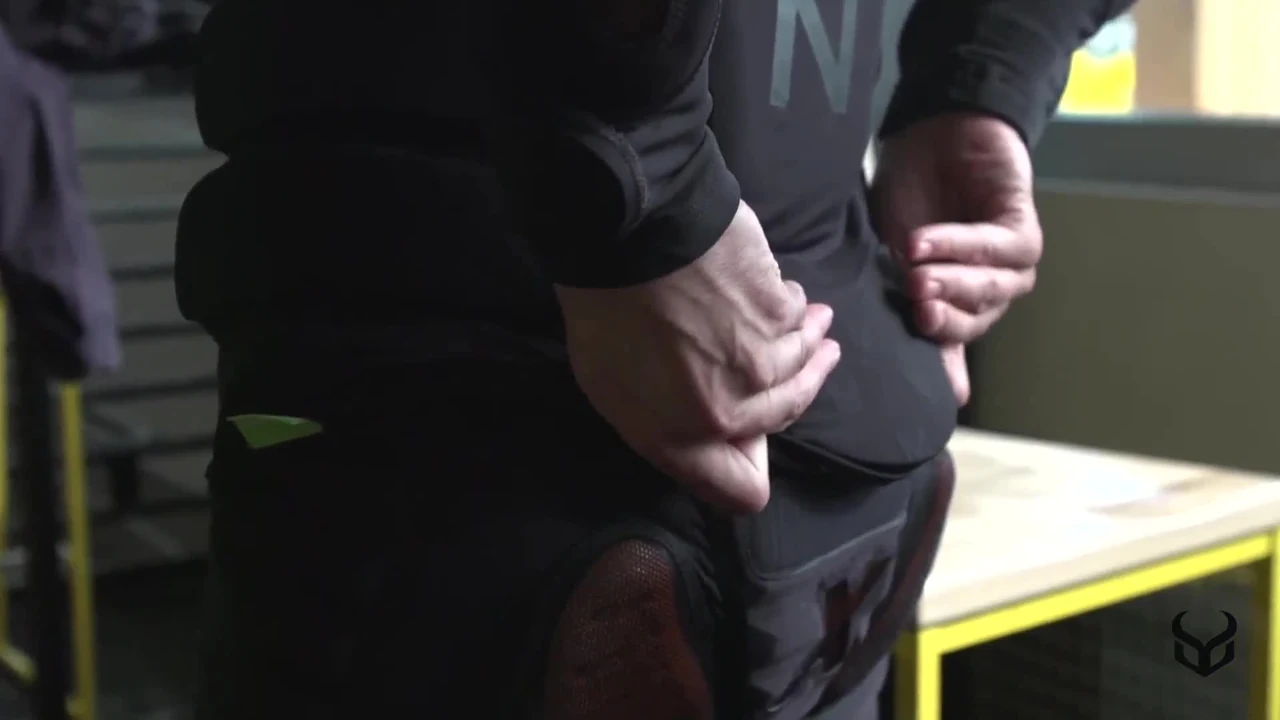
To separate the garments, support the fabric close to the fastening and gently peel the hook-and-loop surfaces apart. Cover unused hook surfaces with the supplied covers so they do not catch on other clothing.
Watch the Demon film on the homepage · 0:32–0:35
You can still wear either piece on its own
Wear just the top, just the shorts or both together. When wearing both, you can choose whether to connect them with X-Connect.
When the connection is not in use, cover the hook-and-loop areas with their intended covers to help prevent snagging other clothing. Keep the protectors supplied with each product in their intended positions.
Combining new and older kit
Buying a V7 top or pair of shorts does not automatically mean replacing the other half of your kit. Demon lists X-Series V4, V5, V6 and V7 garments as compatible through X-Connect.
Check that both garments have matching X-Connect attachments and fit properly. Use the connection only when the fastening surfaces and attachments are undamaged and hold securely.
Connect, then check the fit
Adjust the top and shorts individually first. Then join their intended X-Connect hook-and-loop areas at the back. Clear away lint or dirt and press the fastening surfaces firmly together.
Bend and move as you would during your sport. The connection should not pull, and the protectors should stay in place. Follow your model’s instructions for wearing and caring for the product.
Watch X-Connect in use
See where the connection sits on the top and shorts in Demon’s English-language product videos. The players open at the relevant section. You can also use the photos and instructions above without YouTube.
By loading the video, you agree to YouTube (Google Ireland) receiving your IP address, device and usage data, including for processing in the United States. Cookies and similar storage may be used. Google uses the data for playback, security, usage analysis and potentially advertising.
You choose separately for each video. Your consent applies only to this open page and is not saved. You can withdraw it at any time using “Deactivate YouTube”. YouTube privacy information
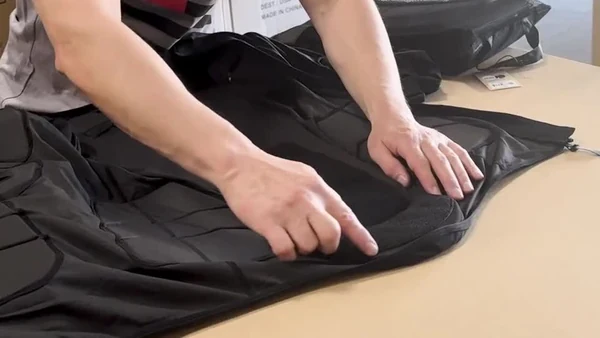
Demon V7 top · from 2:37
YouTube is deactivated. No video player is loaded.
Demon V7 shorts · from 2:36
YouTube is deactivated. No video player is loaded.
The videos are in English. Captions and translations can be selected in the YouTube player where available.
QUESTIONS? TALK TO OUR TEAM.
PlayTrend CYes
play@playtrend.eu+49 (0)2821 7749999You can speak directly with our team, including John, by email or phone. We offer personal advice in English, German and Dutch.
For product questions, please include the model, size and part number where possible.
You can collect your order by appointment at Schmelendriss 41, 47559 Kranenburg, North Rhine-Westphalia, Germany, near Nijmegen and the Dutch border. Please call or email first so we can confirm availability and arrange a time.